As far as I’m concerned, there’s no downside to a process that begins with eating large quantities of avocados and ends with a beautiful, one-of-a-kind skein of yarn for all manner of knitting projects.
When it comes to dyeing with avocados, you can end up with as many different possible shades as there are avocado-based meals in existence. These will depend on factors such as your water supply, its pH, the type of avocados you use, the ratio of peel to stone to yarn, the time taken to extract and dye, the fibre content of your yarn and many more! There’s no one way to go about it, and experimentation is highly encouraged at all stages of the process. Feel free to follow these guidelines à la lettre or to deviate into a whole new spectrum of avocado possibilities.
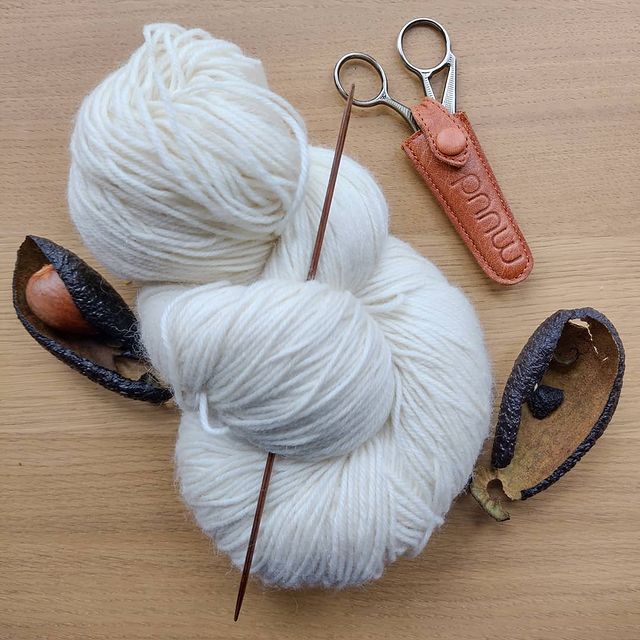
What I used
The peel and stones from 6 dried avocados, 250g undyed 100% merino superwash yarn, bicarbonate of soda, litmus paper, a large cooking pot.
Prepping the avocados and yarn
In my household, eating six avocados in one week was no chore. However, if you are not the avocado glutton that I am, you can also store up your avocados in the freezer after drying until you’re ready to use them. The important thing is to make sure they’re well cleaned of all the flesh first, otherwise the dye could brown.
After cleaning, I dried mine on the window sill for a few days, and the only hazard was ensuring they stayed put (only the one rogue avocado peel was found in the washing basket a few days after dyeing).
I decided to use both the skins and the stones, because the skins give the richest, darkest colour, and the stones contain tannins, which are a natural mordant. Mordant binds the dye to the yarn, ensuring a more vibrant colour. If you want to use an even more effective mordant for long-lasting dye, you could try alum powder in addition!
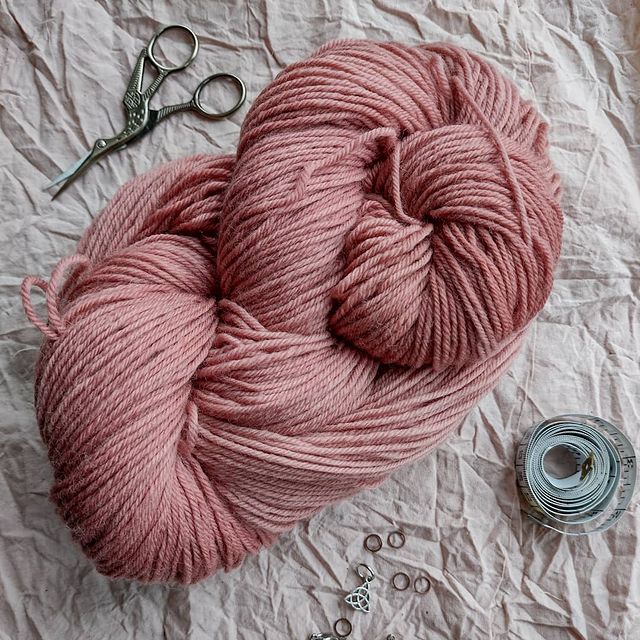
The weight of your dried avocado should be between 50-100% of the weight of the yarn, so to go with my 134g of dried avocado, I got myself 250g of undyed 100% merino superwash yarn. Choosing a superwash yarn allowed me to worry a bit less about felting during the process, and a bit more about trying to create my perfect shade of dusty pink. I soaked the yarn for an hour in water beforehand to open up the fibres and allow the yarn to take on more of the dye.
Extracting the dye
After placing my skin and stones in a large pot of water on the stove (the amount of water isn’t important, you just need enough to cover your yarn), it was extremely satisfying to stand stirring the cauldron and watching as the pigment slowly but surely permeated the contents.
The pH level is the major factor that will affect the dye colour at this point. A more acidic dye will give the yarn more peachy, orangey tones, while making it more alkaline will shift you over into pinks. To create a nice, deep, dusty pink, I added 3-4 tablespoons of bicarbonate of soda and tested it with litmus paper, getting around a 9/10 on the pH scale.
The best advice I received at this stage of the process was to go with my instincts, rather than sticking strictly to the specifications I found in the vast amounts of blog and YouTube tutorials I consumed. There is no one or wrong way to do it and no single colour to create! I kept liberally throwing in that bicarb and gently heating (not boiling!) my dye pot until the water was a beautiful, rich red, roughly an hour later. Top tip: it’s easier to judge the colour and watch it change if you regularly scoop a little from the pot into a glass.
Dyeing the yarn
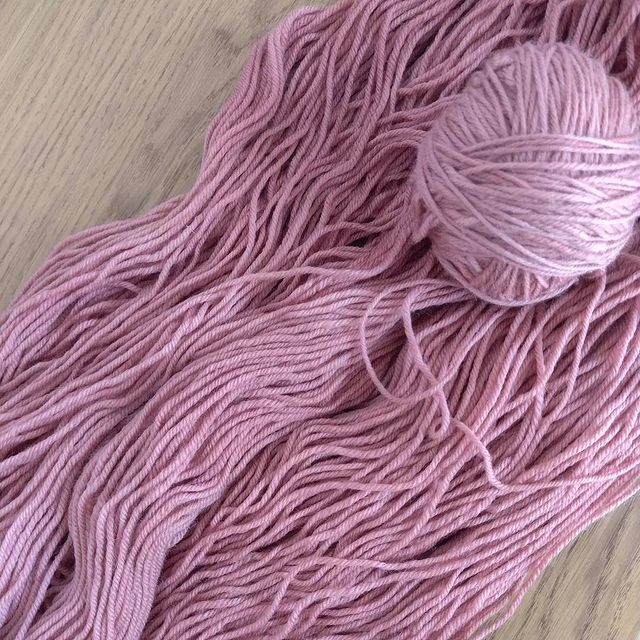
Once you’re happy with the colour, it’s out with the avocados and in with the yarn. Once again, it’s important not to boil the water as this can turn the dye brown. Keep it on a low simmer until you’re feeling good about your yarn colour (knowing that it will lighten up a bit when it dries). I gently heated mine for an hour, and then left it sitting in the dye pot off the heat for several hours for good measure. By the time I took it out, it was a beautiful, dark pink shade.
All that’s left to do at this point is to squeeze the yarn out gently in some fresh water, leave it to dry, and (if you’re me) check in on its colour constantly and compulsively.
If you decide to undertake your own avocado dye experiment, the team at Along Avec Anna would love to see the beautiful variety of shades you create!
You can tag us on Instagram at @alongavecanna and use the hashtags #alongavecavo and #alongavecanna to share your creations!
Sarah


